 Mould, mould, mould. It’s an unsightly pain in the backside, right? It can sneak up on most of us, and even when we treat it, it seems to simply come back again, and again, and again…
Mould is an aesthetic issue, but it can also be quite a serious health concern. It has been recognised as a key indoor biological pollutant that may cause adverse health effects to the building’s occupants. It affects almost 1 in 3 homes and around 24% of the population cannot create the right antibodies. So every time they go into a water-damaged building, the result is inflammation of the brain and body which can be misdiagnosed as Chronic Fatigue Syndrome or even worse, a mental illness (source).
Each individual’s responses to mould exposure will vary depending on a number of factors such as health status, genetic makeup, allergies etc. (source).
The main source of concern is inhalation of mould spores. Those spores are tiny and when they’re disturbed, they become airborne and easily inhaled.
Mould can be visible (think black mould), and hidden. It can typically be treated easily when it is present on non-porous surfaces.
Hidden mould could be identifiable from a persistent earthy smell, or ongoing symptoms that can’t be addressed any other way, although it can’t always be recognised this way. Caution needs to be taken when investigating hidden mould as the spores may be disturbed/released/aerosolised leading to the cross-contamination in the property. Professional help may be required if mould or dampness is suspected but cannot be observed. (source)
Dealing with the source of mould is the first step
Dampness/moisture is a key area of concern for mould growth in indoor environments. Dampness can be defined as any visible, measurable or perceived, unwanted and excess moisture in an indoor environment. (source)
Once moisture sits on a surface for more than 48 hours, the microbes on the surface will attempt to take over the space by producing endotoxins, mycotoxins and microbial volatile organic compounds which can dramatically impact the indoor air quality and affect the health of the occupants (source).
The best way to handle mould is to use a combination of preventative measures, regular cleaning and natural cleaning solutions. For the purpose of this blog post, I am going to suggest ways treat everyday, surface mould in your bathroom. If you notice mould elsewhere in your home, if you have a mould sensitivity or suspect it is more than just a surface issue, I strongly suggest you consult a professional mould specialist (Nicole Bijlsma, building biologist and wealth of information, recommends looking here).
Consider the following steps to help you manage mould in your shower:
• Keep your shower well ventilated, and dry between uses.
• After using the shower, wipe down/squeegee the surfaces to remove excess moisture.
• Ensure proper ventilation in your bathroom. Use exhaust fans and open windows to reduce humidity.
• Fix any leaks in the shower or plumbing to eliminate a moisture source for mould.
• Keep your shower clean (screens and tiles). You might like to use a combination of this Toilet and Shower Cleaner, this Hard Water Spray and this Citrus Cleaning Spray. I recommend doing so once a week.
To clean mould
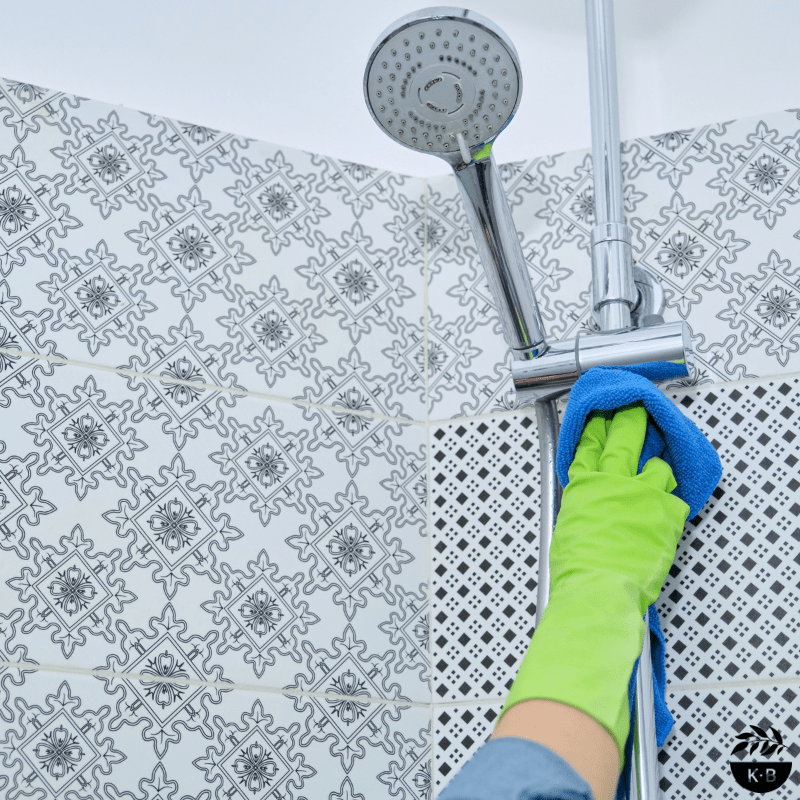
Treat mould-affected areas using the following method:
1. Fill three buckets with a mixture of vinegar and water (9:1).
2. Grab a cleaning cloth and dip it into the first bucket, then clean a small section.
3. Rinse the cloth in the second bucket and then the third bucket (this helps to prevent cross-contamination).
4. Continue this process until you have cleaned the entire area (if you are treating very large areas, refresh the vinegar/water solution).
5. Rinse and dry the treated areas.
Tackle discolouration with one of the options below, bearing in mind that deep-set mould, in grout and silicone seals, may require re-grouting, grout paint or resealing:
a. Paste option – 1⁄4 cup of sodium percarbonate, 2 tablespoons of hot water and 5 drops of clove or tea tree essential oil, mixed into a paste.
b. Liquid option – 1⁄4 cup of hydrogen peroxide (3%) and 5 drops of clove or tea tree essential oil, combined in a spray bottle (dark-coloured glass is best here).
Smear the paste or spray the liquid option directly to affected areas. Leave it for as long as possible (a few hours if you have the time) and then rinse. Repeat until you can no longer see the mould stain, or until you are convinced the mould is set too deep for surface treatment.
It’s safest practice to wear protective gear when treating mould, such as gloves and a mask.
Nicole Bijlsma’s protocol is to vacuum the affected non-porous surface using a vacuum cleaner fitted with a HEPA filter, then wipe with a damp microfibre cloth (soaked in ½ litre of water and a generous squirt of dishwashing liquid), and vacuum again. The cloths should then be rinsed thoroughly before reusing, and discarded (along with the HEPA filter and disposable vacuum cleaner bag) at the end of the process. You might like to try this method, and then hydrogen peroxide or sodium percarbonate/water paste to help reduce discolouration.


2 Comments
Such great tips and recipes here, I will be trying these at home! 🙂
OMG love the recipes they are so environmentally friendly and super easy and they take so little time to make . My grandchildren love making the sticky goop and the fun dough .
Especially more so now as it’s schools holidays .