 I get a headache just looking at those little tree-shaped car air fresheners. That overpowering scent (or should I say stench?) is more than just unpleasant – it’s a chemical cocktail. The exact ingredients? Hidden from consumers, thanks to a loophole that allows manufacturers to list them under one vague word: fragrance. It’s all protected as a ‘trade secret’.
Plenty of research suggests that fake fragrances can affect our health in significant ways. They’ve been linked to issues like migraines, skin irritation, hormone disruption and asthma flare-ups. Many of the chemicals used to create these ‘signature scents’ aren’t safety-tested for long-term use, and some have been found to build up in our bodies – appearing in breast milk and umbilical cord samples (I talk more about this here). Wild, right?
This isn’t about fear or alarm bells – consider it a gentle nudge towards more mindful choices. We’re all exposed to chemicals every day; it’s a part of modern life (more for some than others), and many of us go about our routines without realising the cumulative impact. But once we learn something, we can’t unlearn it. We’re in a stronger position to make more conscious choices, and even small swaps can add up to a healthier environment for us and our families. Our health is worth protecting – be your own health advocate 💪
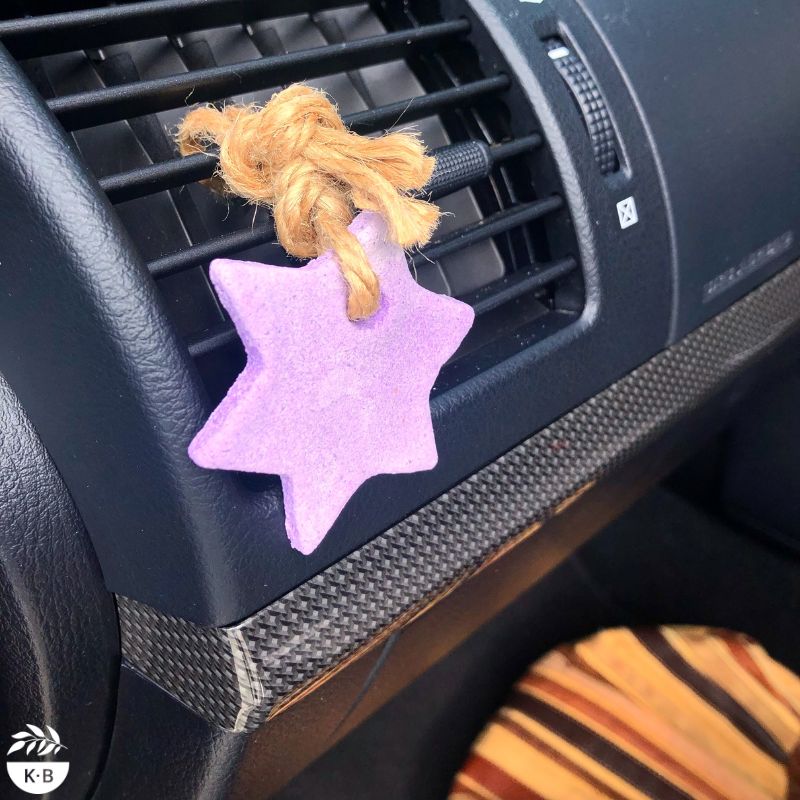
Now, you might not be able to toss your Uber driver’s tree out the window, but you can make a homemade, natural alternative for your own car – one that smells beautiful and supports your wellbeing.
These DIY car fresheners are made from basic pantry ingredients, can be customised with your favourite essential oils, and make great little gifts too!
Let’s make those tree-replacements!
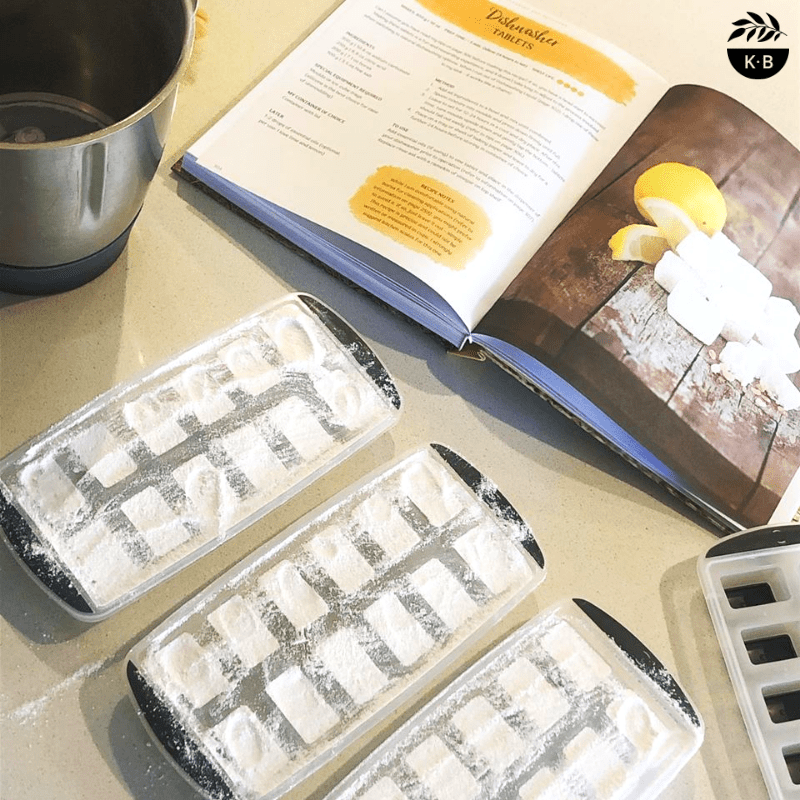
- Preheat oven to 100˚C with fan off.
- Combine 65 grams fine salt, 65 grams plain flour, 50 grams water and 1/4 teaspoon of a colourant (optional) in a bowl and mix to form a dough.
- Dust bench with a little extra flour, remove dough from bowl, and knead until pliable. Add more flour if the dough feels sticky.
- Roll out to 0.5 centimetre thickness and use cookie cutters to create shapes
- Use a straw (metal and reusable, preferably!) to punch a hole at the top of the shape. The ornament can then be hung when dry.
- Lay ornaments on an oven tray and place in oven for 45 minutes. Flip ornaments and bake for another 30 minutes, or until firm and dry to touch.
- Allow to cool, and thread string or a ribbon through the hole.
To use, just add a few drops of essential oil (like lavender, lemon, or peppermint), allow it to absorb, and hang in your car. Reapply oil as needed for a long-lasting, natural scent.
Small Swap, Big Win 🥇
This simple DIY is more than just a cute craft project – it’s a way to take a small, positive step for your health and your environment. Plus, it’s easy, affordable, and something you can get the kids involved in too.
Ready to give it a go? Your car (and your lungs) will thank you 🌿


2 Comments
I used little trees new car scent and put a tree on each handle to get the paint smell out of my car. That’s gone but now the little tree smell is strong. I can open the windows once the rain clears but what other options will absorb the smell so that it smells good again?
Yes, those little trees pack a punch when it comes to sickly fragrance. Do you park your car in a garage? You could leave the windows open – that’s the best way. Perhaps a bowl or two of bicarbonate with some essential oils like lemongrass and tea tree. Give it time, it will off-gas and clear out.