 Cleaning is not a job many of us particularly want to do, but one that most of us simply have to do! Where does one start?
Take a walk down the supermarket aisle and you’ll be assaulted by a plethora of bottles, jars, sprays and powders. How much do we really know about these products? What ingredients do they contain and are these ingredients safe for the precious little humans in our lives? Are they going to send our eyes, ears and nose into a tailspin? Is our skin going to go red with rage? And, do these products actually work?
Did you know the law does not require companies to disclose or publicly list cleaning ingredients used?
Although, some companies do, and I take my hat off to them for their efforts to be transparent. Food and cosmetic products require complete ingredient listings on labels, but cleaning… nope! If you think this needs to change, please take 2 minutes to sign this petition.
I’m here to strip it right back for you and give you natural options to clean that are safer for you, your babies and the planet. I’ll also help you save money while I’m at it!
I have to make something very clear though – natural cleaning, as glorious and green and fresh as it is, can sometimes take a little more effort and a slight shift in expectations (this, of course, depends on your opinion of natural DIY to start with).
So, How Do You Clean Up The Mess?
I’ll focus on basic stain/grubbiness removal; techniques and recipes that will help you get your house spick & span after play dates, birthday parties and life in general.
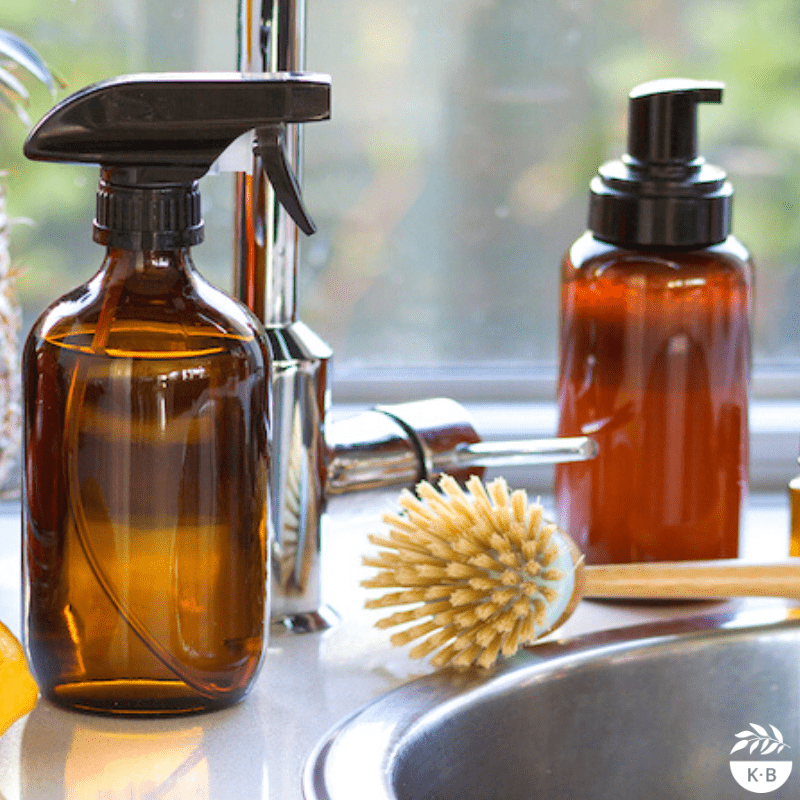
〉Grubby Walls – If your children are anything like mine, they’re scaling the walls with both hands, and both feet, leaving a not-so-lovely filthy brown tinge from floor to ceiling! The simplest method to effectively clean walls is with this recipe, and the best part is that a 500ml bottle of this solution will cost you less than $2 to make!
Simply reserve any orange peels you might have left over from afternoon tea – lemon peels and lime peels are also fantastic – and pop them in a jar. Then, top with white vinegar and place in the cupboard for a few weeks until the liquid is a deep amber colour. Strain the vinegar through a sieve (to remove any floating bits) into a spray bottle, then spray on walls and wipe with a cleaning cloth. It’s that easy, and truly so effective with minimal muscle power required!
Watch me make it here!
You can also use this recipe to spot clean floors, benches, bathrooms, cupboard doors etc. It’s beautifully versatile, eco-friendly and, of course, human-friendly! A bonus tip is to always have a jar or two on-the-go so you’re never left short of a cleaning spray.
〉Pee, poop or gum on the carpet or couch? Knowing how to get stains out of carpets and couches will make your life so much easier. There isn’t a fail-safe method here, but I do have a few tips and tricks for you, all tried and tested. Firstly, always get to stains as soon as possible – leaving them to set will only make the job harder, impossible even. I recommend spot testing these recipes in an inconspicuous area first.
Firstly, remove any debris (I’m thinking vomit, poop, creamed rice etc.), then blot repeatedly at the stain with paper towel to remove excess liquid. Keep going until colour and moisture stops transferring to the paper towel. It is important to blot, rather than rub. Then, in a small bowl, add ¼ cup of water and 1 teaspoon of liquid castile soap (you could use a teaspoon of regular dishwashing liquid if that’s all you have) and mix until combined. Dip a soft toothbrush into the solution and brush gently over the stain – work from the outside in to prevent spreading the stain further. Repeat this a few times if necessary. Then, blot again and allow to dry.
If you find chewing gum stuck to carpet, apply an ice pack for 5-10 minutes and then chip away at the gum. An oil-based stain can be treated as above (blotting is super important here). Mud can be allowed to dry, then vacuumed up. Use the water and castile soap/dishwashing liquid solution above if you need to treat any staining.
If your cherub has piddled on your couch or carpet, blot first to absorb excess liquid, then, lightly spray the affected area with a solution of equal parts cold water and vinegar, and blot again. Repeat this process 2-3 times. If you notice an odour once the carpet is dry, sprinkle some bicarb on the area (with a few drops of eucalyptus, lemon or tea tree oil if you have some), give it time to fully dry and then vacuum up.
A few extra tips: always work from the outside in, so you don’t spread the stain further; keep carpet as dry as possible (avoid flushing with water) – this will help prevent moisture damage to the underlay, and further spreading of the stain.
〉Stains on clothing? Stains on white shirts – they’re one of life’s greatest (first-world) annoyances, don’t you agree? I have tried so many methods and this here came out a winner every time. Simply pop ½ cup of washing soda and ½ cup of hydrogen peroxide 3% (both supermarket items) into a bucket of around 5lt of warm/hot water and soak clothes for at least 4 hours. Then, wash as usual.
While hydrogen peroxide (3%) shouldn’t bleach clothing, I always recommend you perform a spot test before soaking your favourite shirt in the solution (some fabric dyes are not set and can run, even in plain ol’ water). Unfortunately, hydrogen peroxide can’t be purchased in bulk, and can quickly add up dollar-wise, so save up your stained clothing and hit a few at once.
Check out what it is capable of!
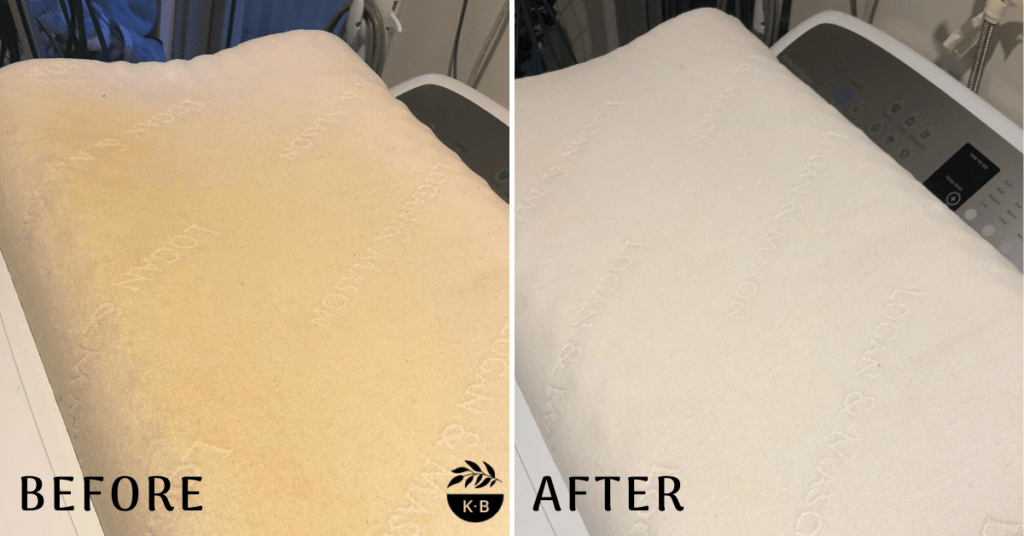
Another option, and one that I find particularly useful for staining of the armpit area on clothing, is a simple paste of bicarb and water. Apply to stains, rub gently, allow to rest for an hour or so, and wash as usual.
So, there we have it, plenty of simple stain-busting, grime-fighting recipes and tips to get you safely, cheaply and (hopefully) happily cleaning!
This blog post has been adapted from an article I wrote for Beanstalk Mums. You can read it here.

2 Comments
That was great Krissy – you’re a natural!
Awww, thanks!