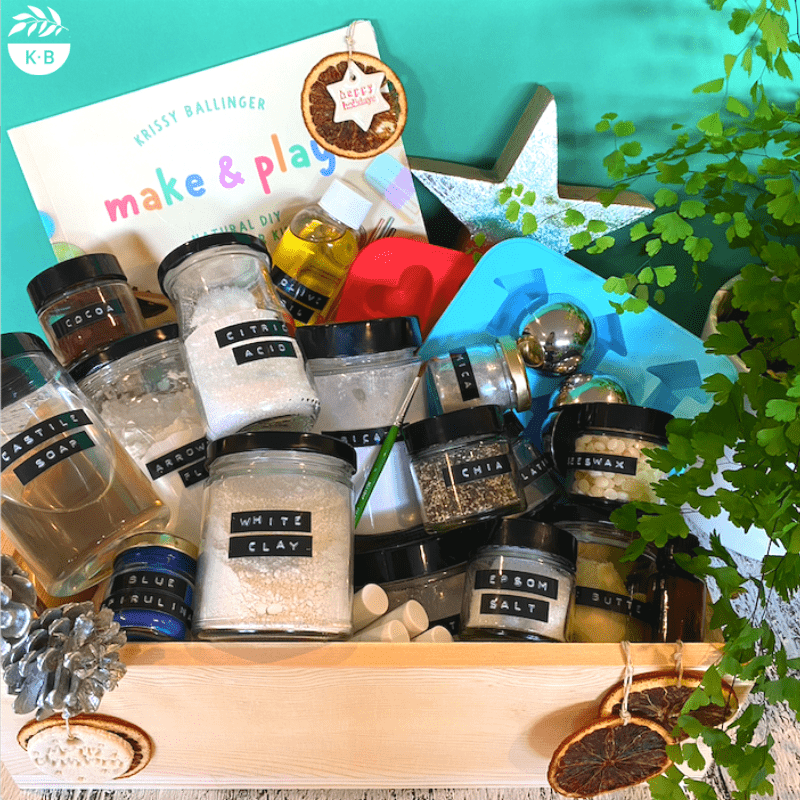
 Have you made a batch of my natural DIY Lip Balm yet? If not, check out the recipe here. It only requires 3 ingredients, plus essential oils, and takes less than 10 minutes of your time. It is a way better option than most store-bought varieties and is an economical gift idea too. I’ve even given them as party favours for Miss 9 and they were a smash hit!
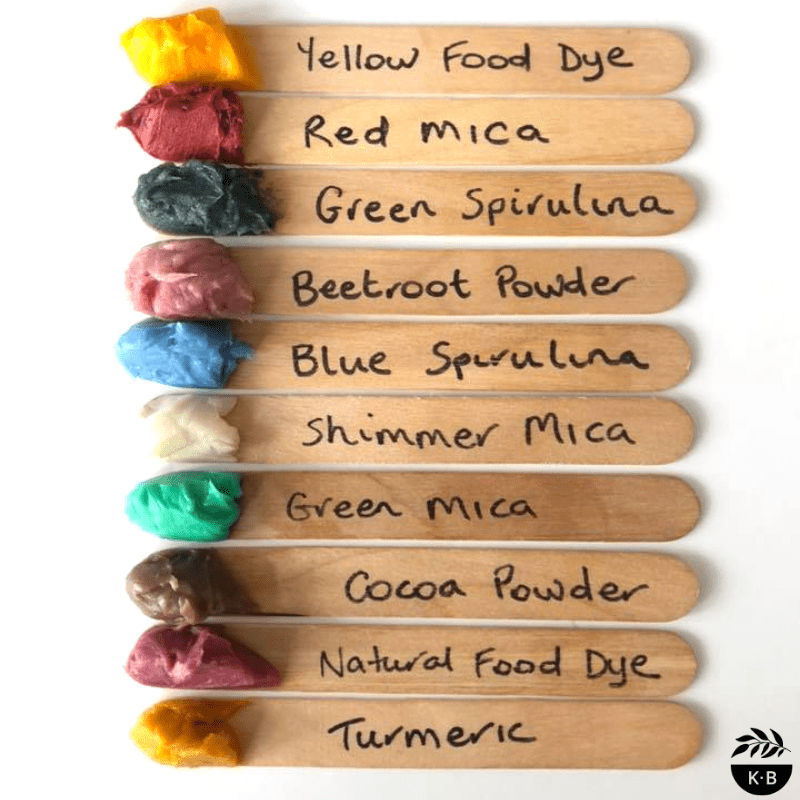
While I personally prefer a nude, natural lip balm, I know that many of you want to add a bit of colour to jazz it up (especially if you happen to be DIY-ing with children)!
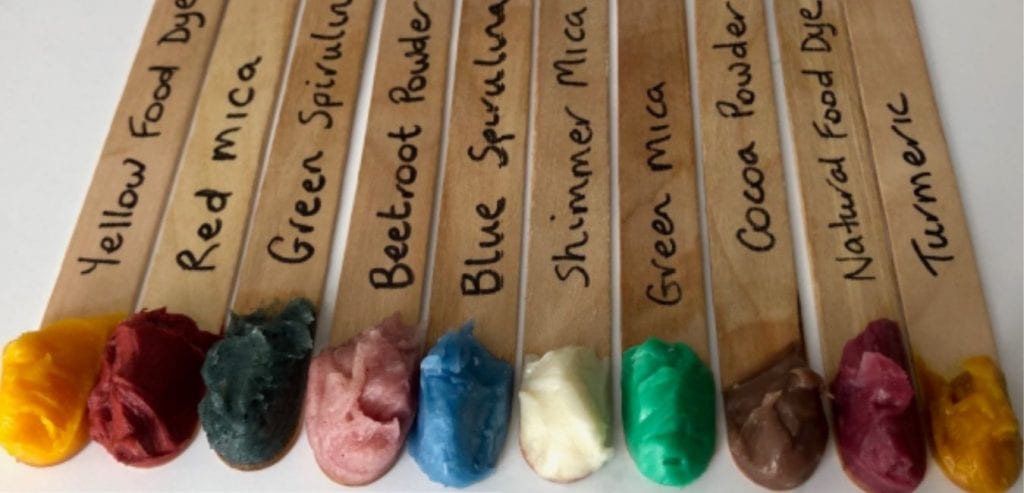
To make it easy for you, I made up a batch of lip balm, divided it into 10 and coloured each portion with a different colourant – most natural, some not. Here are the results; I haven’t played with any filters, so you get the most accurate idea of how each colour will turn out. It’s so pretty, isn’t it?
Tips When Colouring Lip Balm
〉I use approximately ¼ tsp to 1 tsp per batch of lip balm to achieve these colours. It really depends on personal preference as to how much you add. It’s ok to add some colour, mix it up, add some more, etc. If your balm solidifies and you’re finding it hard to add more colouring, just pop it back on your double boiler or give it a re-melt in the microwave if you’re using one.
〉When adding your colouring, mix briskly and thoroughly. There should be no clumps of colouring left.
〉It can be hard to mix some colourings in. If you have trouble, wait until your balm has set and whip (with a spoon or paddle pop stick). Note that mixing when the balm is cool and solidified gives it a whipped look.
〉If you’re not sure how your colour of choice will work, test it first. Try pouring a small amount of balm into a separate dish and adding a small amount of colouring to it. This way, if you don’t like it you can bail on the idea with little worry and little waste.
〉When adding water-based colouring to your lip balm, be mindful that it may spoil faster.
〉Natural colourings like beetroot powder and green spirulina can leave balms a little ‘speckled’.
〉Other additives like honey, vanilla bean paste and glitters can sink to the bottom, so they’re also best whipped again when cool and solidified.
〉Micas that are coated in bright colours usually aren’t fully ‘natural’ but it’s your decision on where you draw the line.
Happy making and colouring!