Making soap can be complicated. Don’t get me wrong, it can be done at home as a DIY project, however, I would recommend getting some guidance, taking a class or two, or watching some tutorials before you attempt it.
I personally avoid working with lye (very dangerous if mishandled) and it’s not something I want around the home, but that’s me, and you’re you.
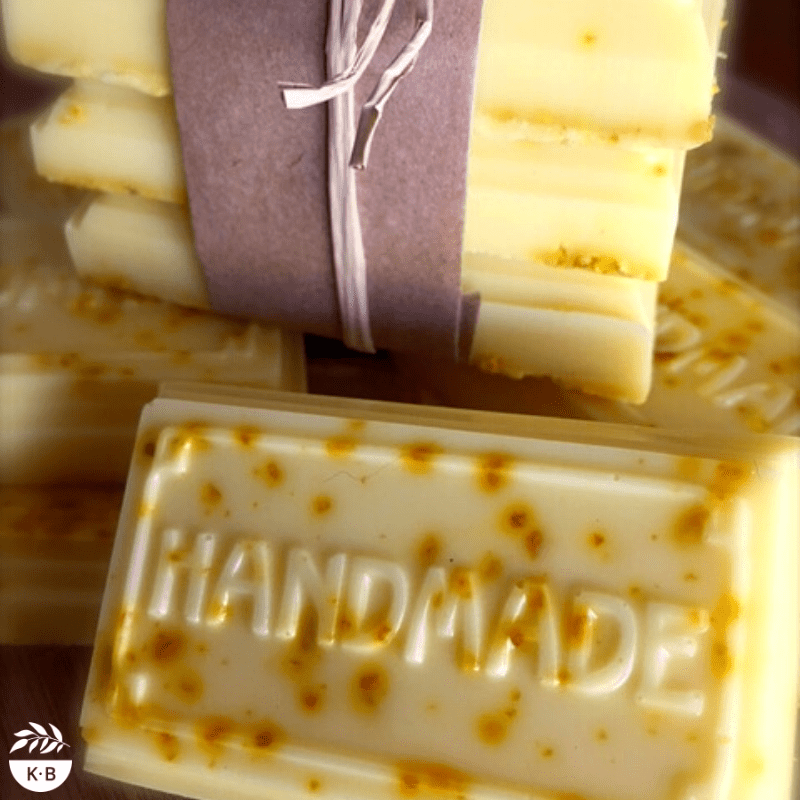
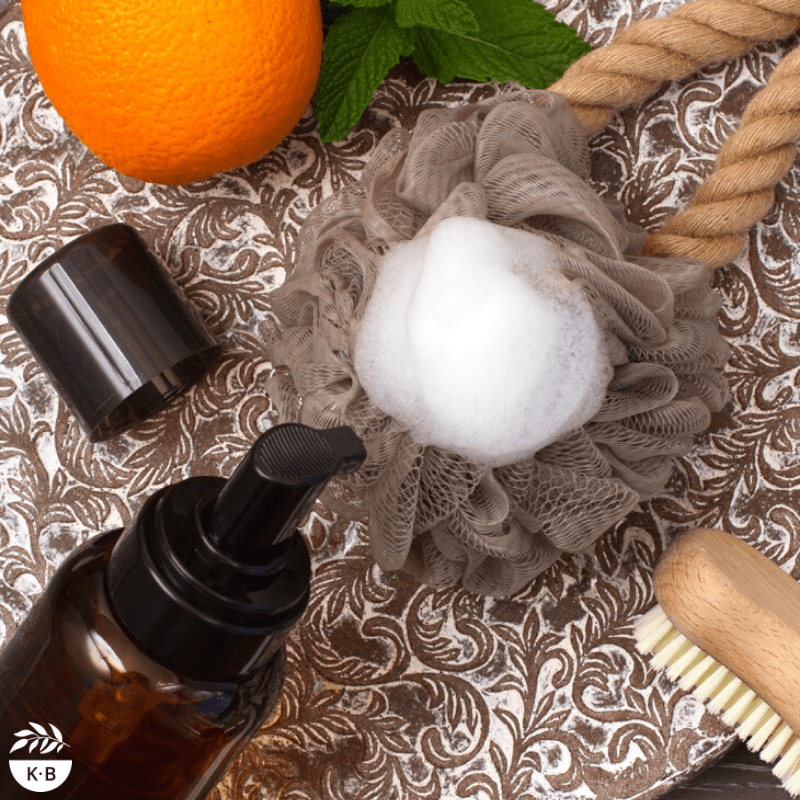
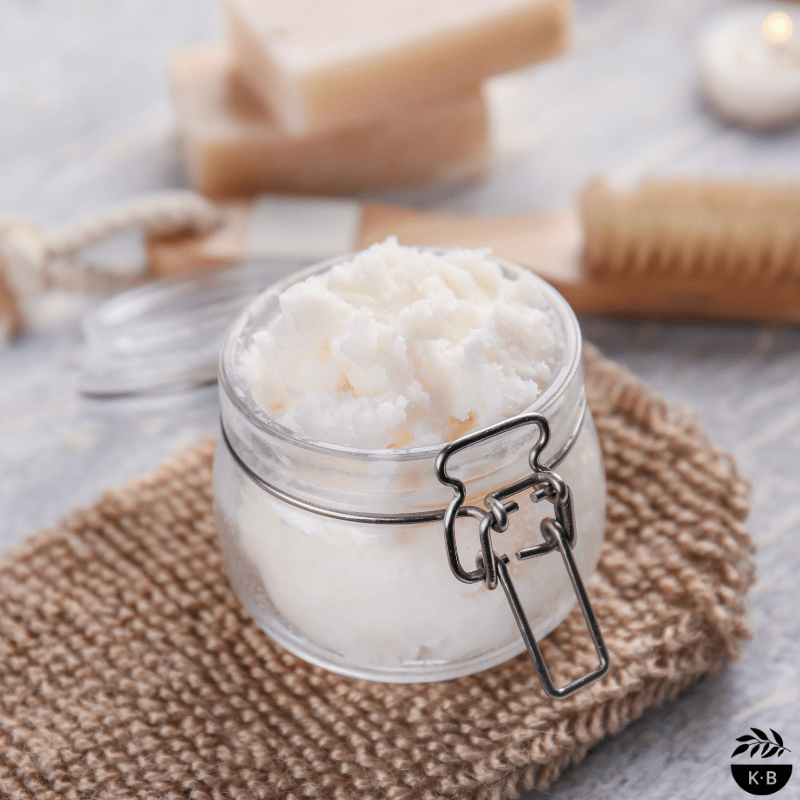
Soooo, I use the ‘cheat’s’ version aka melt and pour soap base; it requires chopping, melting and pretty-ing up. I love that there are so many variations to try. This here is a citrusy, zesty, summery soap, and as you can see by the pic I took, it packages gorgeously as a gift!
Simple Melt & Pour Soap with Lemon Zest
Makes: 255 g Prep time: < 15 min. (plus setting time)
Ingredients
- 250 g melt and pour soap base – roughly chopped (see recipe notes)
- 30 drops of essential oils
- 1-2 tbsp lemon/lime zest (finely chopped and dehydrated)
- 1 tbsp clear alcohol (in a spray bottle)
My Choice of Essential Oils
My favourite essential oils in this recipe are lemon and orange, but don’t be limited by my suggestions. Use oils that fit your budget, or those that you already have in your collection. Read here for more information on essential oils.
Extra Equipment Required
Silicone moulds
Method
1. Add soap base to a glass bowl and heat until completely melted. (Double boiler method– place bowl on a pot of gently simmering water and stir frequently; Microwave method– heat in short bursts on low, stopping and stirring frequently). Remove from heat.
2. Add essential oils and zest and mix until combined.
3. Pour soap mixture into mould.
4. Spray the top of soap with clear alcohol (this removes any air
bubbles from the surface), and allow to set in a cool, dry place
(not the fridge – this causes soap to sweat) for a minimum of 3-4 hours. Once set, it may help to place the moulds in the
freezer for 5 minutes before unmoulding them.
5. Allow to dry for 24 hours on a tray or sheet of baking paper, before transferring into a jar or container (with lid).
To Use
Recipe Notes
It is important not to heat the soap to a very high temperature (60˚C is perfect) or it has a tendency to sweat once set.
Be sure to fully dehydrated zest to reduce the chance of mould and slime from forming.
Any chocolate moulds work as soap moulds; Kmart & IKEA have cheap and funky designs.

12 Comments
I use the M&P also, don’t want to try lye… but wondering how you would add color to soap?
Hi Rachel, I talk about colouring in general here: https://krissyballinger.com.au/blog/colouring-and-diy/, and I get a tint in soap with lemon zest and coffee grounds, but you could add mica’s – just mix it with a little carrier oil or alcohol to help the colour distribute easily.
I made lemon soap using lemon powder 7.5 g in 500 g soap base and 1.5 lemon oil 1.5 vit e oil.. but after set.. lemon soap colour is dark brown type…
When you say lemon powder, what exactly are you referring to? And was it completely dried?
How did you get your soaps to have that creamy pink look – mine are good but look a tad like tar ?
I’m confused, where are you seeing pink?
Using the 100% handmade moulds, roughly how many moulds would this recipe fill please?
All moulds vary in size, but mine hold approx 50g each.
How small did you cut the pieces of soap before melting? And what’s the texture of the soap like once melted? I am 12 minutes in (using a Thermomix) and it’s the texture of whipped cream (using a goats milk melt and pour base). I don’t want to burn it but I definitely can’t pour it yet. Can you help?
My pieces would be about 1-2cm cubed. It really depends on the type of M&P soap base you use. Just keep heating until it melts (you might want to increase temp and speed slightly).
I was wondering if u could add a little liquid laundry soap into a melt and pour soap? Would it cause any bad reaction?
It could be quite irritating to the skin.